


MALM Nightstand Makeover
- Jan 12, 2017
- 2 min read
I LOVE IKEA furniture - but some pieces are just too "Plain Jane" for me. So are the MALM nightstands (or actually the whole MALM series). BUT they are PERFECT for making them look unique and outstanding with a few simple "touch ups".


As always, I was way to excited to start my project and forgot to take the "Before" picture (Darn it!!). Well, this is how the MALM nightstand looks like:

Step one: I pre-treated the dark brown veneer with LIQUID SANDER (using a scrubby sponge) to take off the sheen.


Give it some time to dry and get your DIY Chalk paint prepped in the meantime. I am using the same Chalk Paint Recipe for 3-4 years now and it works exceptionally well:
CHALK PAINT RECIPE: this recipe is good for one 8 oz sample of paint, enough to paint six drawers on a dresser
-Mix 2 1/2 tbsp of Plaster of Paris with 1 tbsp of water until you get a nice smooth consistency with no lumps
-Next pour your Plaster of Paris/water mixture into the paint sample and stir. Make sure paint is smooth as before.
My most favorite paint is BEHR Premium Plus - Paint & Primer in one (FLAT) - color: CRACKED PEPPER - a nice charcoal gray (I already painted several pieces of furniture in cracked pepper and I am always amazed how great this color looks).

After two coats of chalk paint and two coats of Wipe-On Poly the painting part was done (yeah!!!).
One more trip to the local hardware store to get my planks cut - it took me quite a while to figure out what works best. The total dimensions of the MALM are 15 7/8 inch wide and 19 inch long and I decided to buy
(1) 1x5 board
(1) 1x3 board
and got them cut to size. Well, actually I had TWO nightstands and therefore needed (2) 1x5 boards...anyway, I strongly recommend to make your measurements and see if you like wider planks, an overhang or not etc.

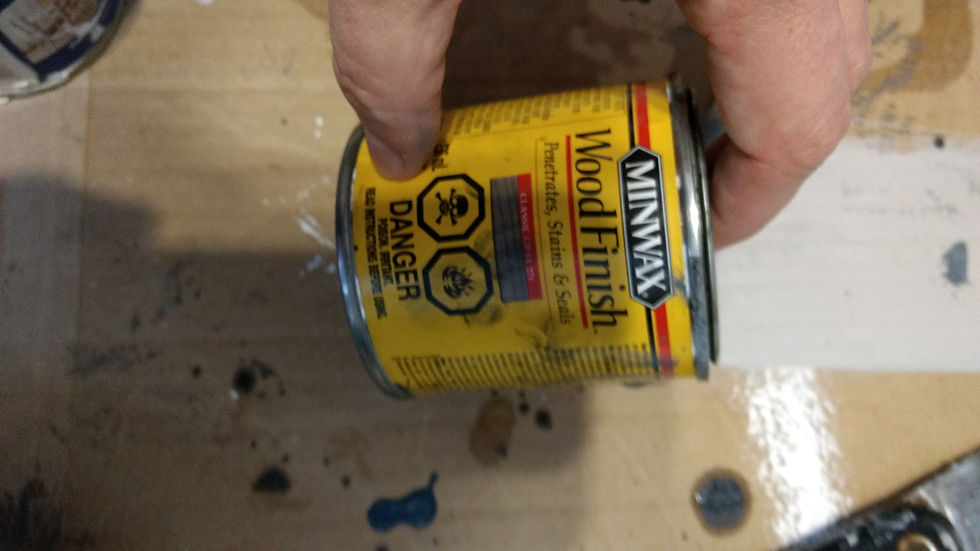
Next step: staining the planks, using my all time favorite MINWAX Classic Gray (1 coat)
...and dry-brushed after with white paint to give it more of a driftwood look. Wanna know how to use the super easy dry-brushing technique? I found a very good tutorial on this great blog LOVES GROWS WILD

I let it dry overnight and sealed it with two coats of Wipe-On Poly

The next day I used NO MORE NAILS glue and some really heavy books to attach the planks to the top of the nightstands


I let it dry overnight. My back up plan was to get some screws in to secure the planks to the top but it was actually not necessary, this stuff works extremely well.


Comments